Previously, we had planned on using a gravity fed, revolver style method for loading the ping pong balls into the barrel. But we found that there was a significant loss of power when test firing with the hole on top open, and the robot could only fire a ball halfway across the table at full power to the fan. We considered incorporating a servo actuated lid into the design for the revolver or adding additional "blank" tubes that would act as lids in between the actual tubes, but in the end we decided to go for a different approach, using two tubes that run parallel to the barrel to hold the ping pong balls.
We also did some testing for accuracy, and added a strip of electrical tape to the bottom of the barrel to give the ball some topspin.
After working over the weekend we have most of the mechanical frame assembled, and we verified that we could move the stepper motors and stop them with the limit switches.
In my junior year at OSU I found myself needing a mill frequently and had no way to access one without driving several hours. I came up with a small, lightweight solution to the problem by attaching a small xy table to my drill press and using an aluminum miter jig as a clamp. The results are passable for light duty work, but the setup time isn't the best and you have to feed the pieces slowly in order to keep everything from vibrating too much.
In winter term of my senior year at OSU I had someone come in to TekBots with a homemade water cooling pump system in a state of disrepair used for cooling a reactor in a research lab and offered to pay me to make it functional again. I replaced the old control system with my own and laser cut a new top plate with a printed label inside and panel mounted switches and potentiometers (the original system had trimmer pots on protoboard). He was pleased enough with my work that he has since come back to me asking me to make three larger systems that each have six pumps. I've built him a working prototype and the parts for the rest of the systems are ordered and waiting for me to design a case to hold them.
Several months ago I experimented a bit with smoothing 3d printed ABS parts with Acetone. I tried using an acetone pen used for removing fingernail polish with little (no) success. I then tried using a vapor bath approach, by putting a small pool of acetone in the bottom of a glass jar and holding the part above it by some string. After 5-10 minutes there was some slight smoothing, but not at the level I was hoping for. I then bought a cheap electric stove to heat the acetone in the jar and had much better results. However, even on the very lowest setting the stove was hot enough to boil the acetone almost instantly. This had the effect of smoothing the part in 5-10 seconds but even using the setup outside I wasn't very comfortable about the fumes I was releasing. This definitely falls under the category of "do not try this at home", and especially not inside.
During the summer of my internship at Tektronix my roommate was interning at Intel working on a rover. I can't say much about it, but I can show you the chassis frame that I made for him (including the custom shocks I made).
The motors that my friend ended up with were much smaller than the ones I had designed the arms for
As I only need a few more credits to receive my Bachelors degree in Electrical Engineering, I thought I'd take the applied robotics course, where students work in teams of 3 to create a robot to play a game against the other teams by the end of the term. This year's game is Beerpong, and we've been busy trying to come up with the best way to locate the cups and launch ping pong balls accurately.
We decided to go with a pan/tilt design for aiming using NEMA 17 stepper motors that will allow us to attach many different types of firing mechanisms so we can get good test data for different methods as we progress, and chose a standard spacing for the mounting holes to let us fit 80 20 extruded aluminum if we wanted. Our method for locating the cups is to use the (relatively) cheap LIDAR-Lite module mounted to the turret which will scan back and forth, allowing us to find the closest cup. The other teams that we have talked to are all planning on using a webcam or a Kinect camera and OpenCV for detecting the cups, but we would like to avoid the additional complication of using a computer and are opting to instead keep everything on an embedded system (plus the LIDAR-Lite already has example code for the Arduino written for it, which will dramatically cut down on the time it takes to develop the low level code for our system. We chose to run with the Arduino Mega 2560 so we could make use of the existing libraries for driving stepper motors, servos and other modules that we may decide to use (and you can't ever have too many UART channels).
We verified the pan/tilt design by cutting it out of cardboard before moving to acrylic:
After putting in a solid weekend of work we had a prototype version to test:
Not long after we got that method working we were discussing with another group and found that they were getting more consistent results by simply attaching a fan to the end of their barrel and blowing the ping pong ball through the barrel. We had to test for ourselves, and printed a test adapter to fit a 38mm fan that I had which is an absolute champ for it's size.
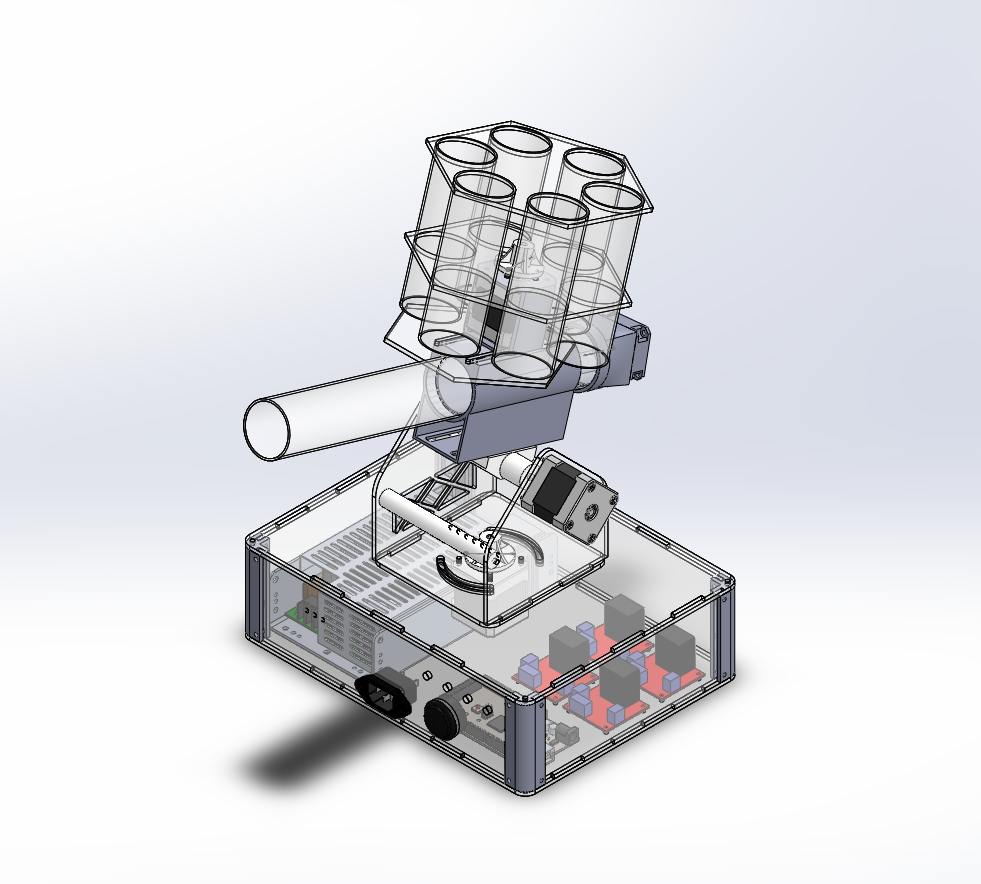
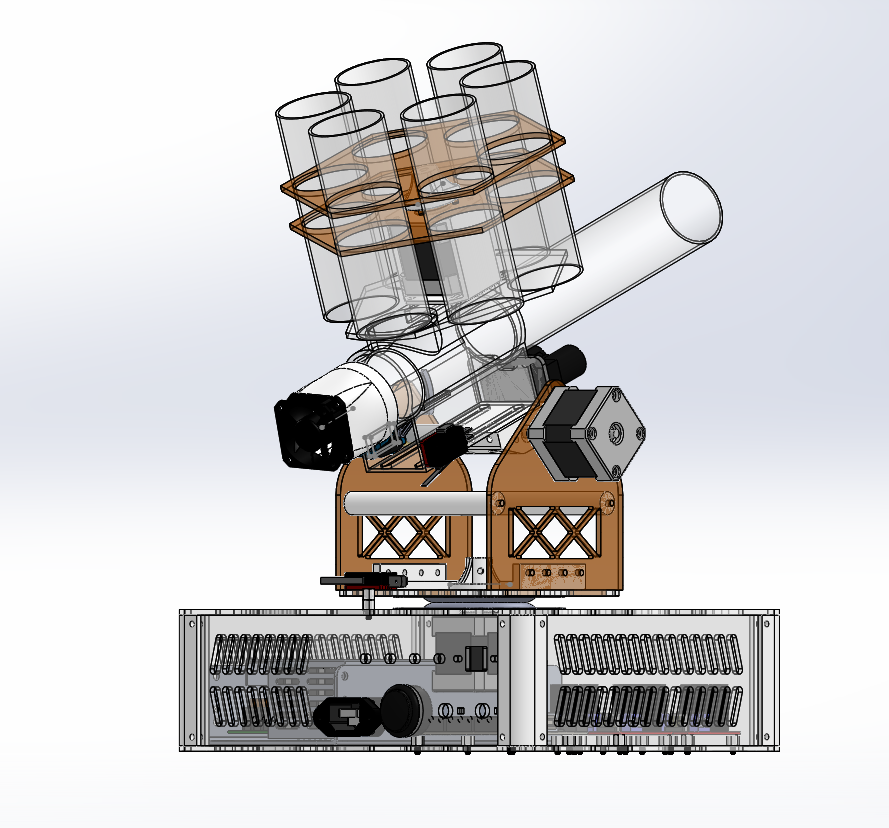
Our latest design will involve a revolving set of tubes for holding the 18 ping pong balls we're allowed while keeping us within the 24"x24"x72" size restriction, and we are aiming at getting a finalized design done by the beginning of next week. We have also ordered some polycarbonate tubing to ensure a more consistent inner diameter than the schedule 40 PVC pipe we were using before (and it also has the benefit of being transparent).
This is the rough approach that we want to go for, we are planning on some improvements over this design including tilting the tubes for the ball holders to a 45 degree angle to make it more compact.
We are almost at the end of the third week of the term, and we will need to have the robot finished for the competition during finals week (week 11).


.jpg)


.PNG)